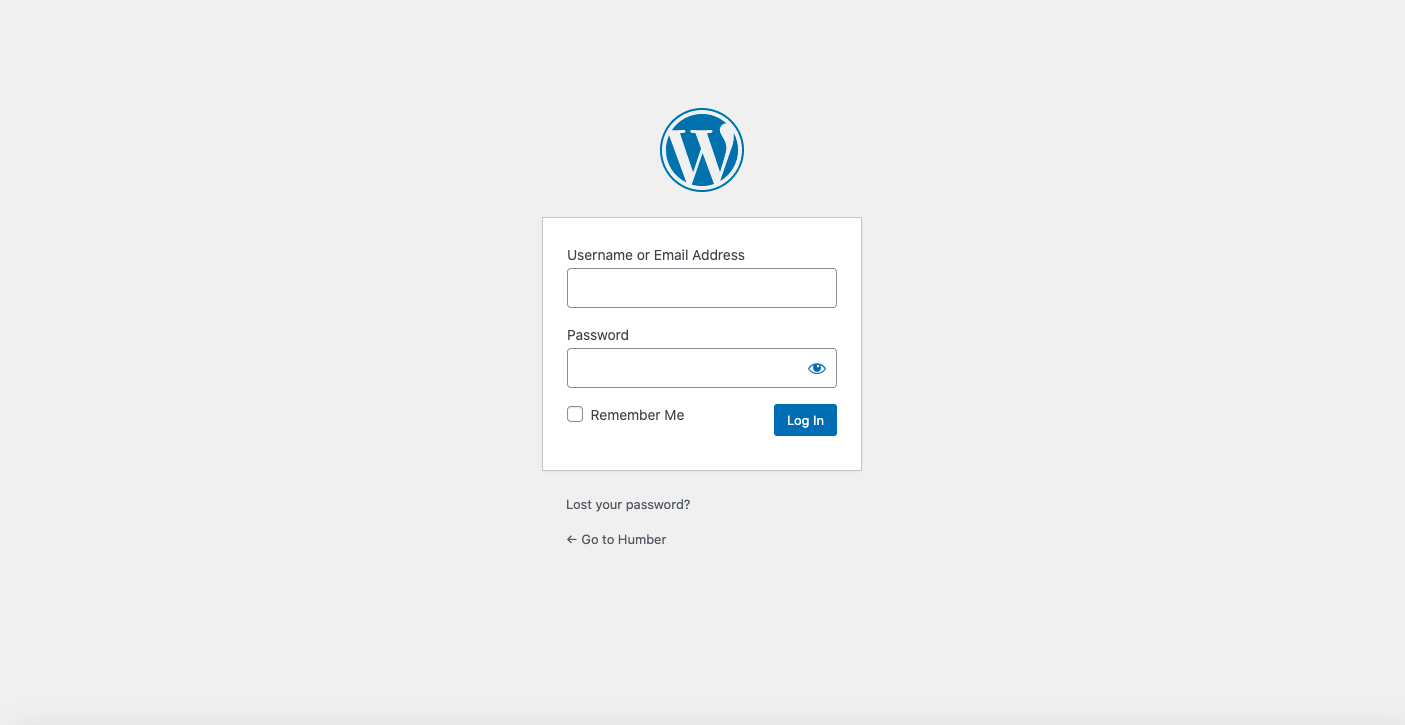
LOG IN TO YOUR CHAPTER BACKEND
https://heritageclub.ca/your-chapter-name/wp-admin
- Copy this URL and put in your chapter name where it says “your-chapter-name”
- That will lead you to the page below.
- Enter your log in details and click the Log In button.
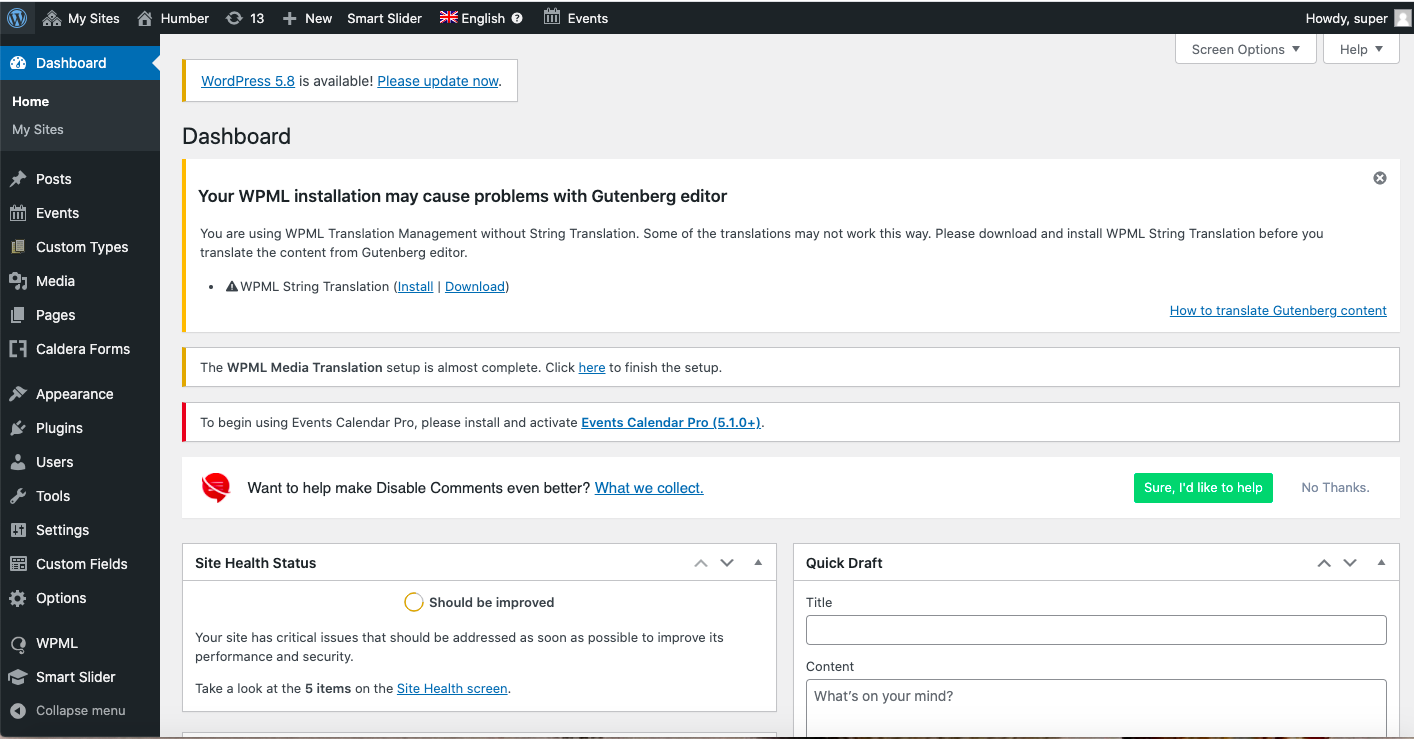
DASHBOARD PAGE
- Once you log in, you are now on the dashboard page.
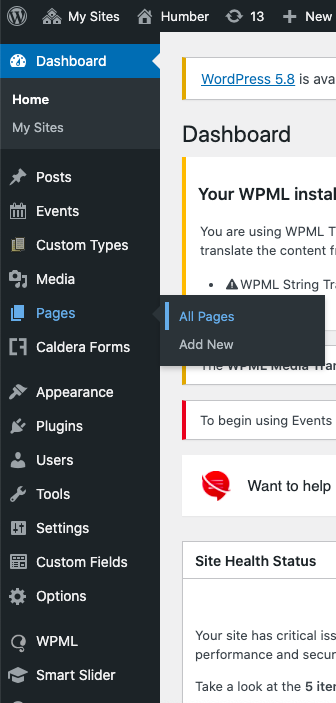
PAGES
- On the left hand side of the dashboard page there is a black menu bar.
- Find Pages, once you hover your cursor over pages click All Pages.
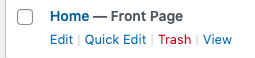
FIND THE HOME PAGE
- Here you will see all your pages, click on the Home page.
UPDATING/ADDING FOUNDING MEMBERS
- Once you are on the Home page backend, scroll down and you will see tab sections.
- On the Founding Members tab, scroll down to see a list/add a list.
- Here you can add members by clicking the “Add a Row” button at the bottom of the list.
- You can remove any members by hovering over the right grey bar beside the persons name and click the red minus circle icon.
- You can move members around by hovering over the number list and then you can drag the persons name to wherever you like.

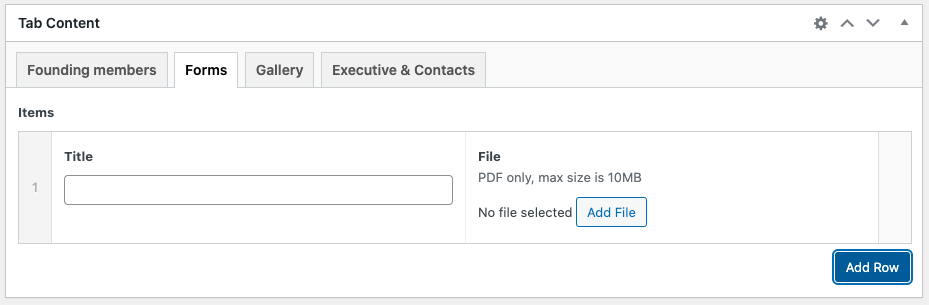
UPLOADING FORMS
- Click the Forms tab
- If you click “Add Row” it will allow you to add a form.
- Put in the title of the form and click “Add File” to select your form PDF file from your computer.
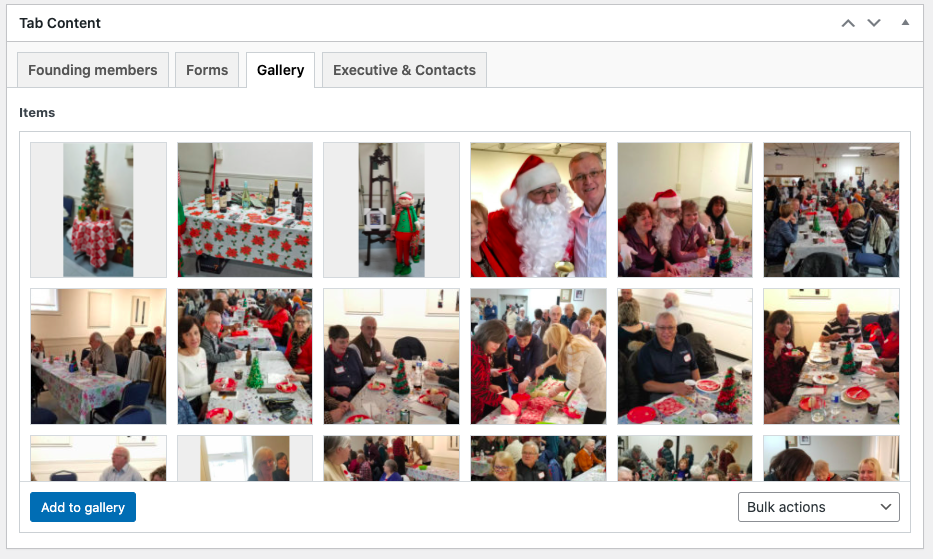
ADDING GALLERY PHOTO’S
- Click the Gallery tab
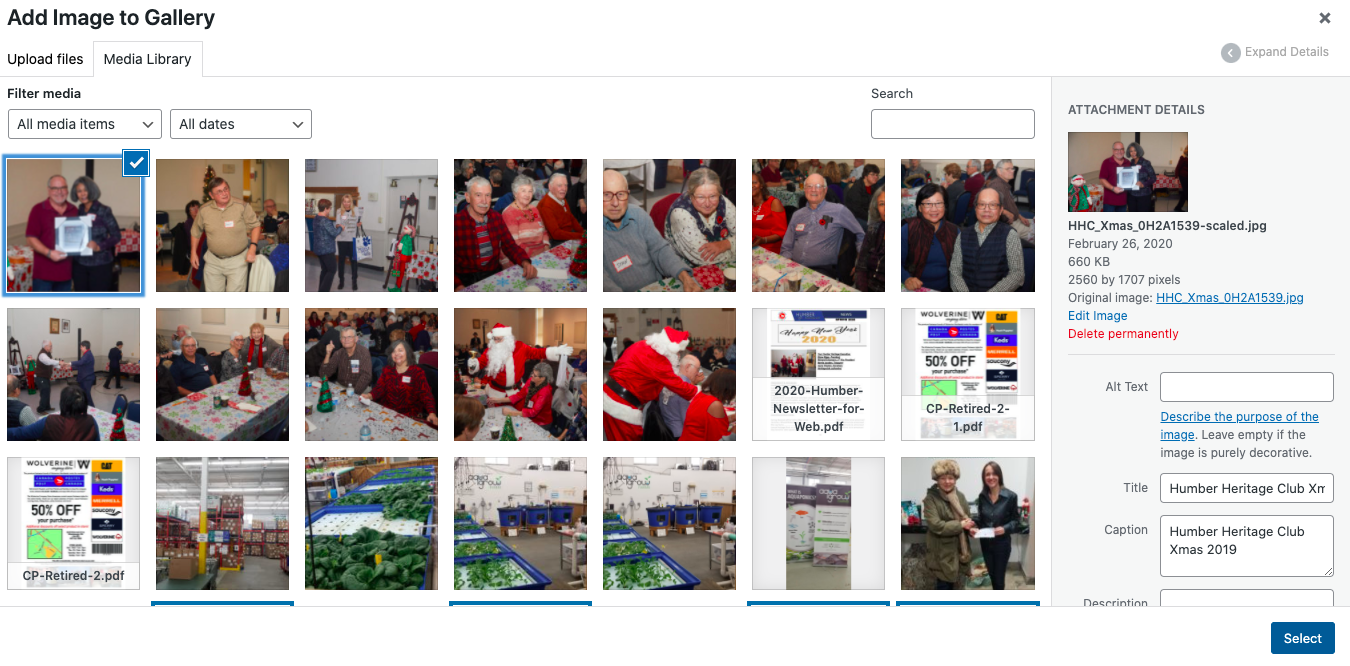
- Click “Add to Gallery” button
- In the top left, click Upload Files tab
- Here you can drag your image in or click Select Files button to pick images from your computer.
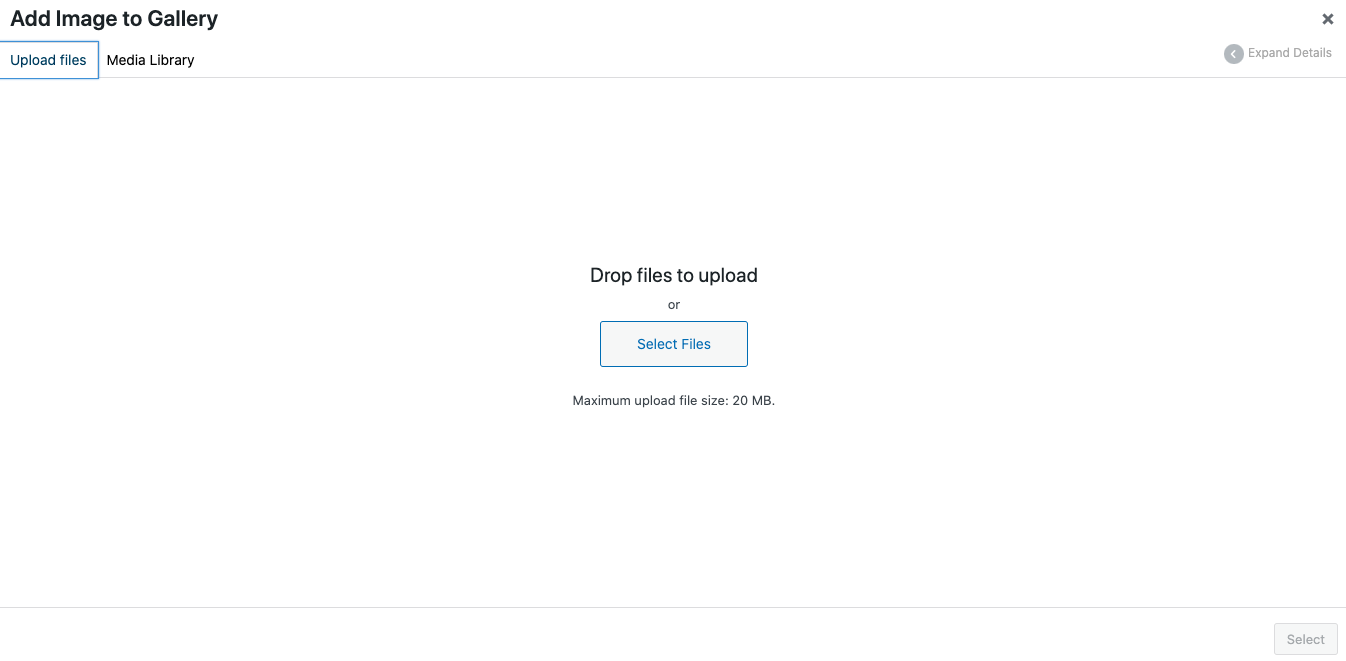
- Once you have uploaded your image you will go to the Media Library page.
- Your image you uploaded should be checked off. You can click on multiple images you would like to add.
- On the right hand side you can add a caption to the image.
- Once you are done, click Select button in the bottom right.
UPDATING/ADDING EXECUTIVES & CONTACTS
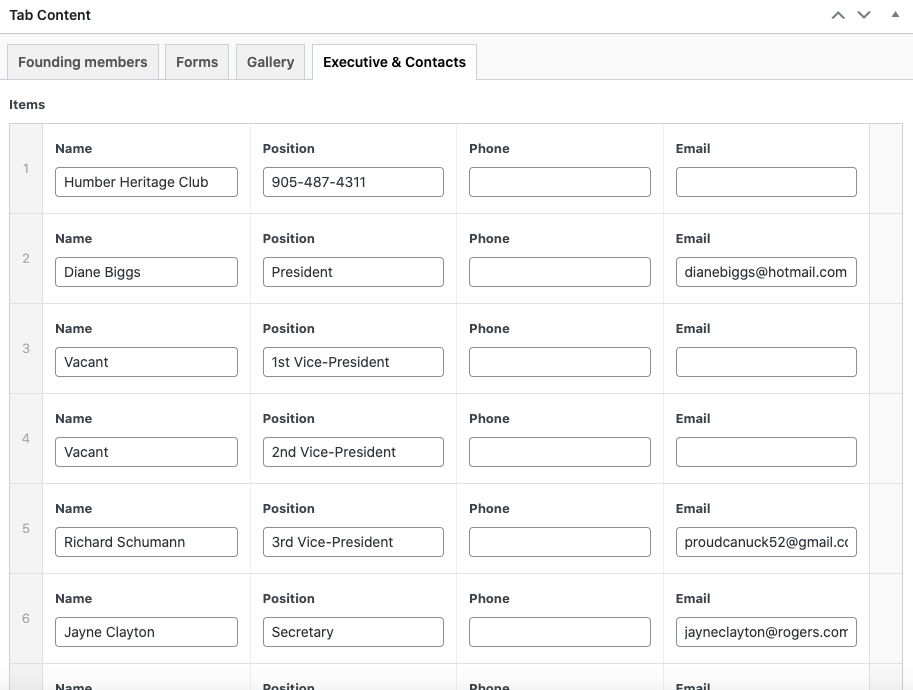
- Click on the Executives & Contacts Tab
- Here you can add their name, position, phone number and email address
- You can add members by clicking the “Add a Row” button at the bottom of the list.
- You can remove any members by hovering over the right grey bar beside the persons name and click the red minus circle icon.
- You can move members around by hovering over the number list and then you can drag the persons name to wherever you like.
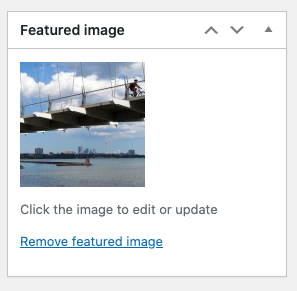
CHANGING THE CHAPTERS TOP BANNER PHOTO
- On the right hand side there is a “Featured Image Section”
- Click on the image
- This will lead you to your media library
- In the top left click Upload Files tab
- Once you have uploaded your image you will go to the Media Library page.
- Your image you uploaded should be checked off.
- Once you are done, click Select button in the bottom right.
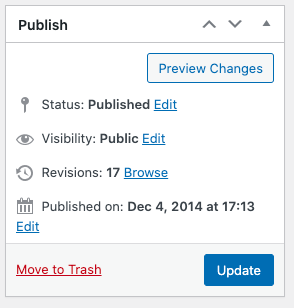
SAVE YOUR WORK
- Once you have put in any content click the blue Update button found on the right hand side. This will save any new work you have put in.
ADDING NEWSLETTERS
- On the left hand side click on “Posts”
Click “Add New”
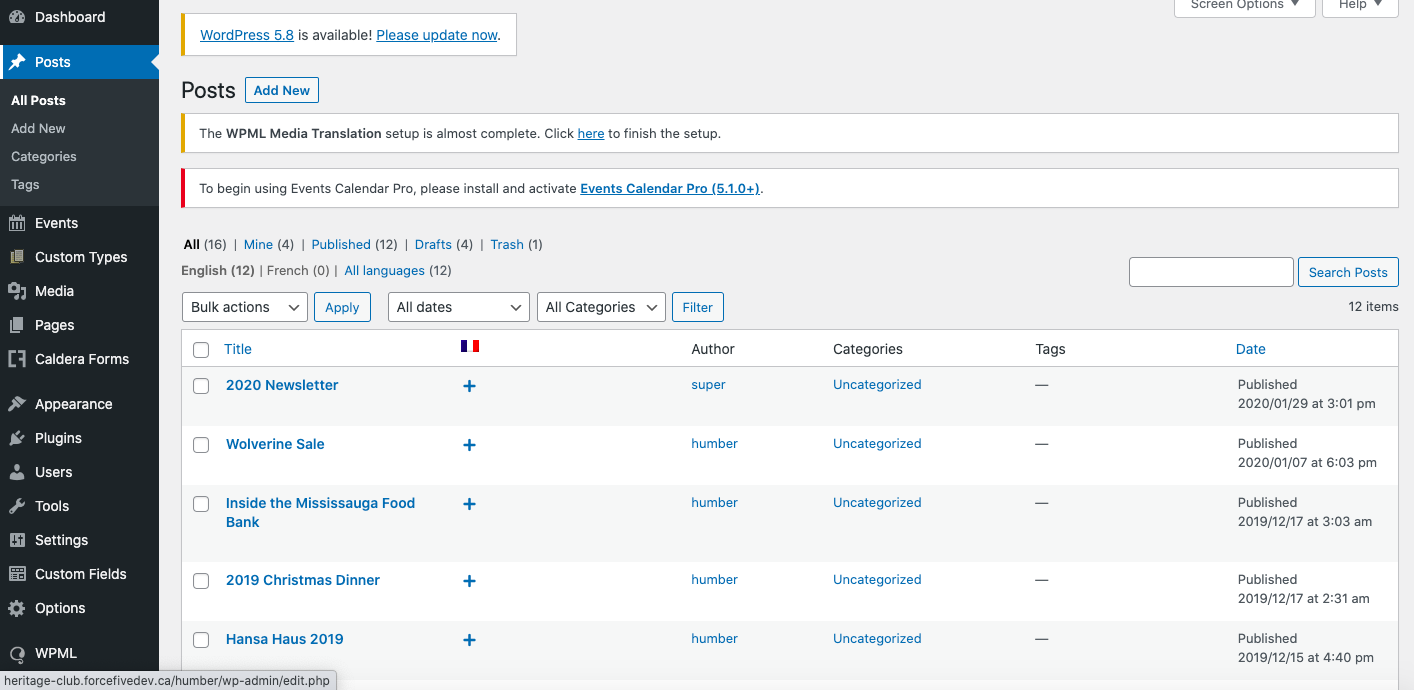
- Add the title of your Newsletter to the “Add title” bar.
- If you would like to type out your newsletter text, you can add it to the text box area.
- If you have a PDF of the newsletter, scroll down past the text box and you will see a “News” section.
- Here you click “Add File”
- In the top left click Upload Files tab
- Once you have uploaded your PDF you will go to the Media Library page.
- Your PDF you uploaded should be checked off.
- Once you are done, click Select button in the bottom right.

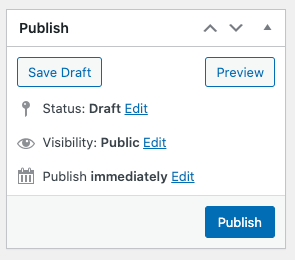
- When you have completed adding text or putting in your newsletter PDF, click Publish blue button found on the right hand side.
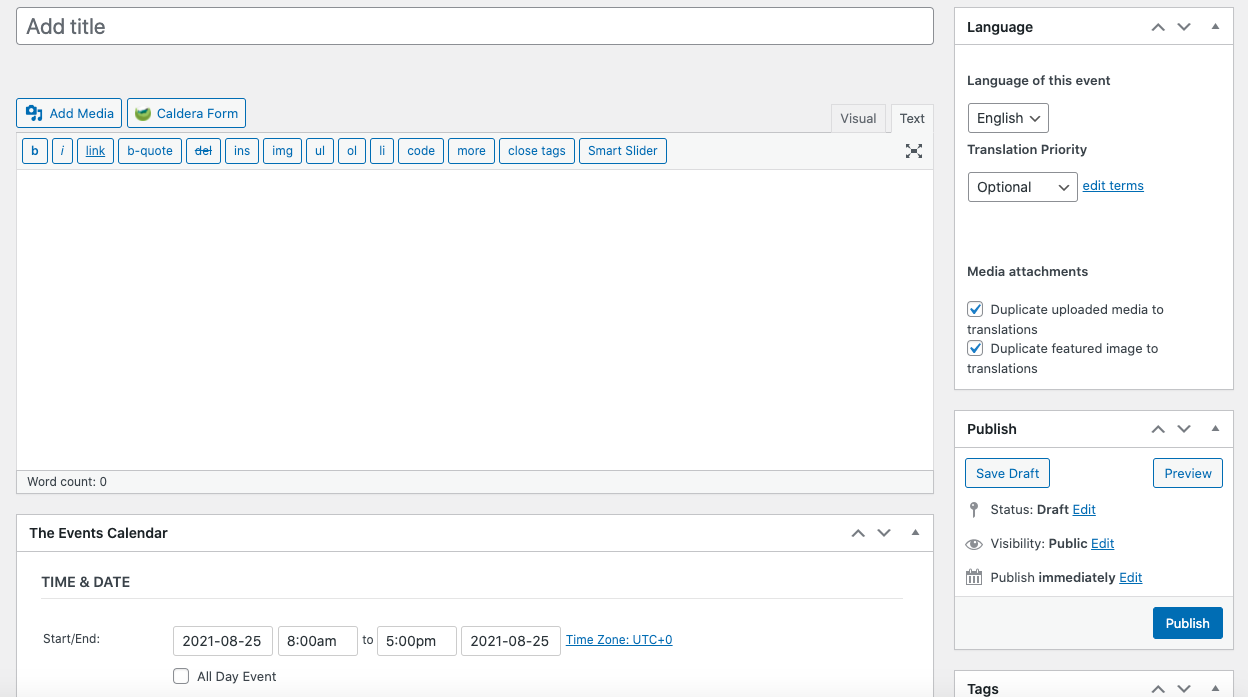
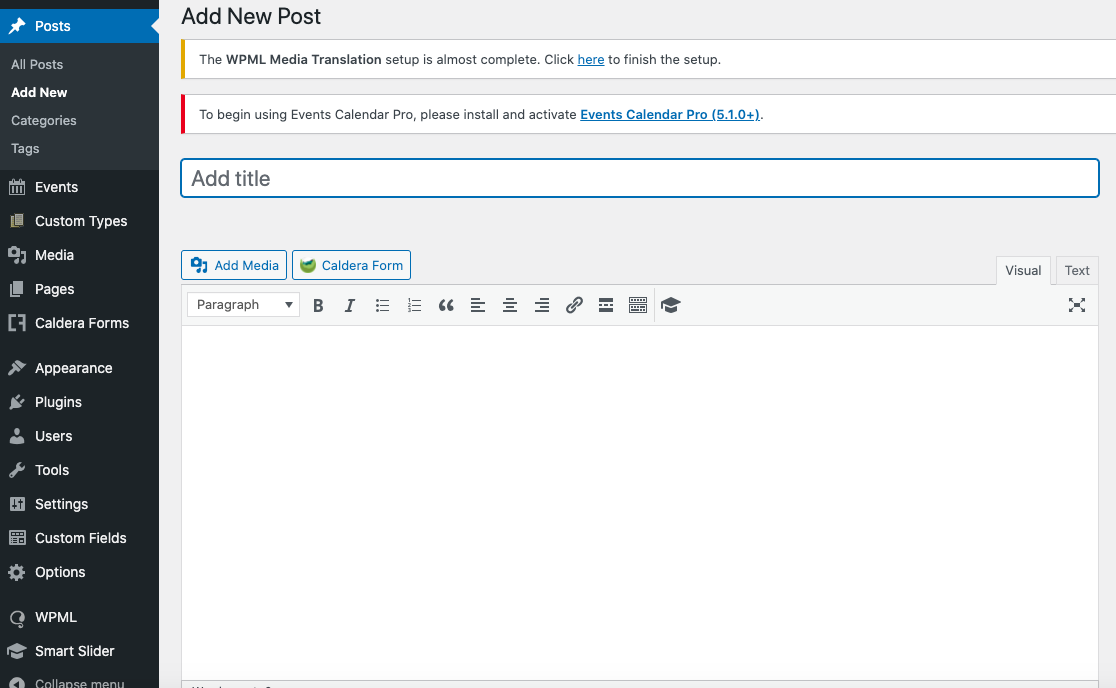
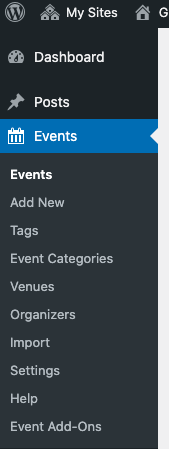
ADDING EVENTS
- On the left hand side click on “Events”
- Click Add New
- It will lead you to this page.
- Add your event title in the Add title bar.
- Add event description in the text bar area.
- Below the text bar there is “The Events Calendar” section
- Here you can add all your event’s information (time, date, location, etc.)
- Once you are done, click the blue Publish button on the right hand side.